So our current home has a fireplace... but it's Arizona, so I don't really think we'll use it much... somehow... but with it comes a mantle, which has been lots of fun to decorate! I decided I wanted to make a summer bunting with burlap to hang across this summer.
First, I bought a half-yard of burlap at Walmart:
Second, I drew up my pattern. I made a triangle then cut the ends off the top so I could fold it over the string with out fabric poking out the side:
I then cut sixteen flags, eight for each of two buntings:
Then I drew my stencil. First I found a star and flower I liked online, then I traced them onto poster board and cur out the insides to make my stencil. I cut the whole flower, then the inside circle separate.
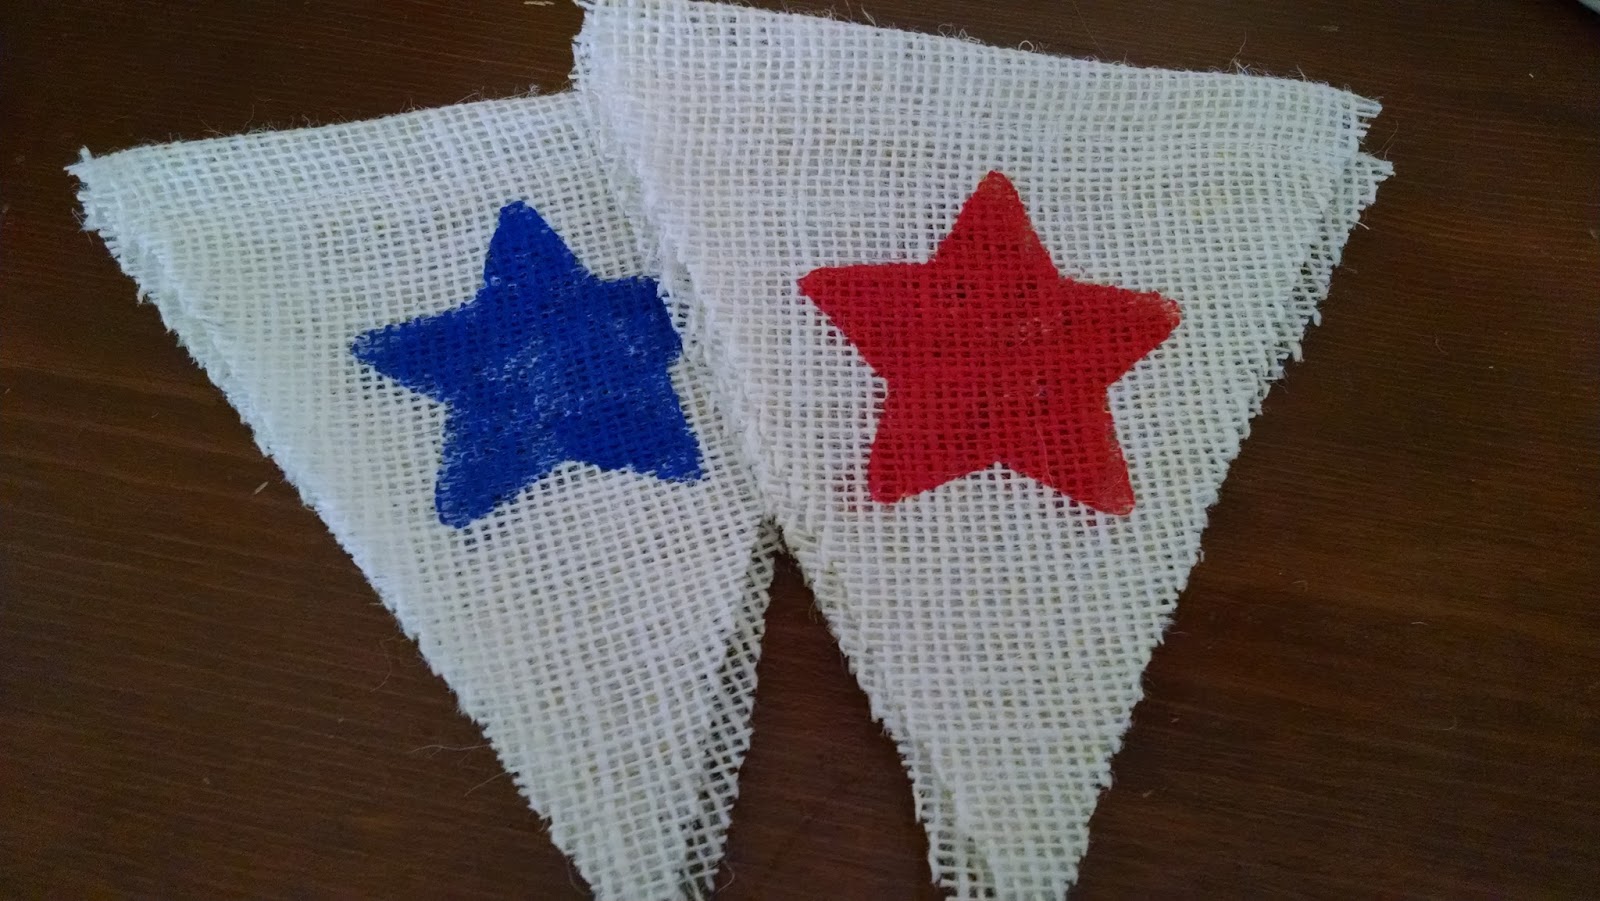
I set up a station to stencil my flags. I did four blue stars, then four red stars, then all the yellow flowers, finally all of the brown flower centers.
I used basic, 50cent, acrylic paints and a paint bush made from a sponge clipped with a clothes pin, a surprisingly useful brush!
I tied some string between my kitchen chairs and clipped each flag up to dry.
Then, in a moment of weakness I went to bed and left my paints on the counter....
The next morning Mr. A helped me put them away.... but not after first trying to open the bottle of blue by himself.
I didn't take a picture of this step, but I used clear school glue and went around the edges of each flag to give it some stability and to minimize fraying. It is burlap after all!
Next I folded down the top of each flag and sewed it down. You could also use hot glue... I just wanted to make sure it wasn't going anywhere!
Yikes! We're almost there!
Finally, I tied some jute/twine onto my trusty crochet hook and threaded the string through each flag.
Then I hung the bunting up to enjoy!
I love it! So cheery! Stay tuned for the patriotic version!