Showing posts with label paint. Show all posts

Friday, August 31, 2018

Ombre Mason Jars

I recently set about making a rustic sort of box from old fence posts for my sister in law, and liked it so much, I made one for myself too!  I'll post later on how to make the box, but today we're going to talk about ombre mason jars!


So first, of course, you'll need three mason jars, or how ever many you'd like!

Pick a color and pour out a good amount on a plate.  I didn't like the pink I had (for my SIL, I did purple for myself) so I mixed some orange in to make it more coral-pink.  It is important that you get enough on the plate for all three jars to get a couple coats.

Once you like your base color (which, incidentally will be your darkest color), add a couple drops of white paint to one third of it, and a couple more to the next third and mix them in.  As you can see in the picture below, this will give you three colors, of progressive lightness, but still the same color (you're not ending up with different kinds of pink this way.)
'

Then get to work painting!  I used a wide, flat brush and long even strokes.


I put my jars upside down on paper to dry so I didn't have to wait for the bottoms to dry to set them down!


Don't try to get full coverage on the first coat or it will end up looking lumpy and gloopy.  Do a thin layer and let it dry, then another.  The subsequent layers will go on thicker anyway once they have something less smooth to stick to!


Then all you have to do is wait and let them dry!  Like over night, maybe even a couple days!


Once they are really dry you can take sandpaper and scratch off some of the paint to make them look rustic.  The trick here is to scratch it where it would naturally wear down, like the raised letters or the corners.  Flat sides won't wear as much.


Oh hey, I did take one picture of a pink jar! oops...  Just one...

You could also do a band of another color, a forest green with gold accents is beautiful!

To do this you can either free-hand it and add a band, or if it is really dry, like a couple days dry, you can use painters tape to give you a clean line.  

Once they are done fill them with you favorite flowers.  Or cotton balls and q-tips in the bathroom.  Or bows and headbands for your baby girl.  Or pens and pencils on your desk!  A gallon size-mason jar would make a great cooking spoon storage and display!

Enjoy! 

And watch for a tutorial on the box to come!


Monday, June 15, 2015

Patriotic Bunting!

You probably remember the Summer Bunting I made recently


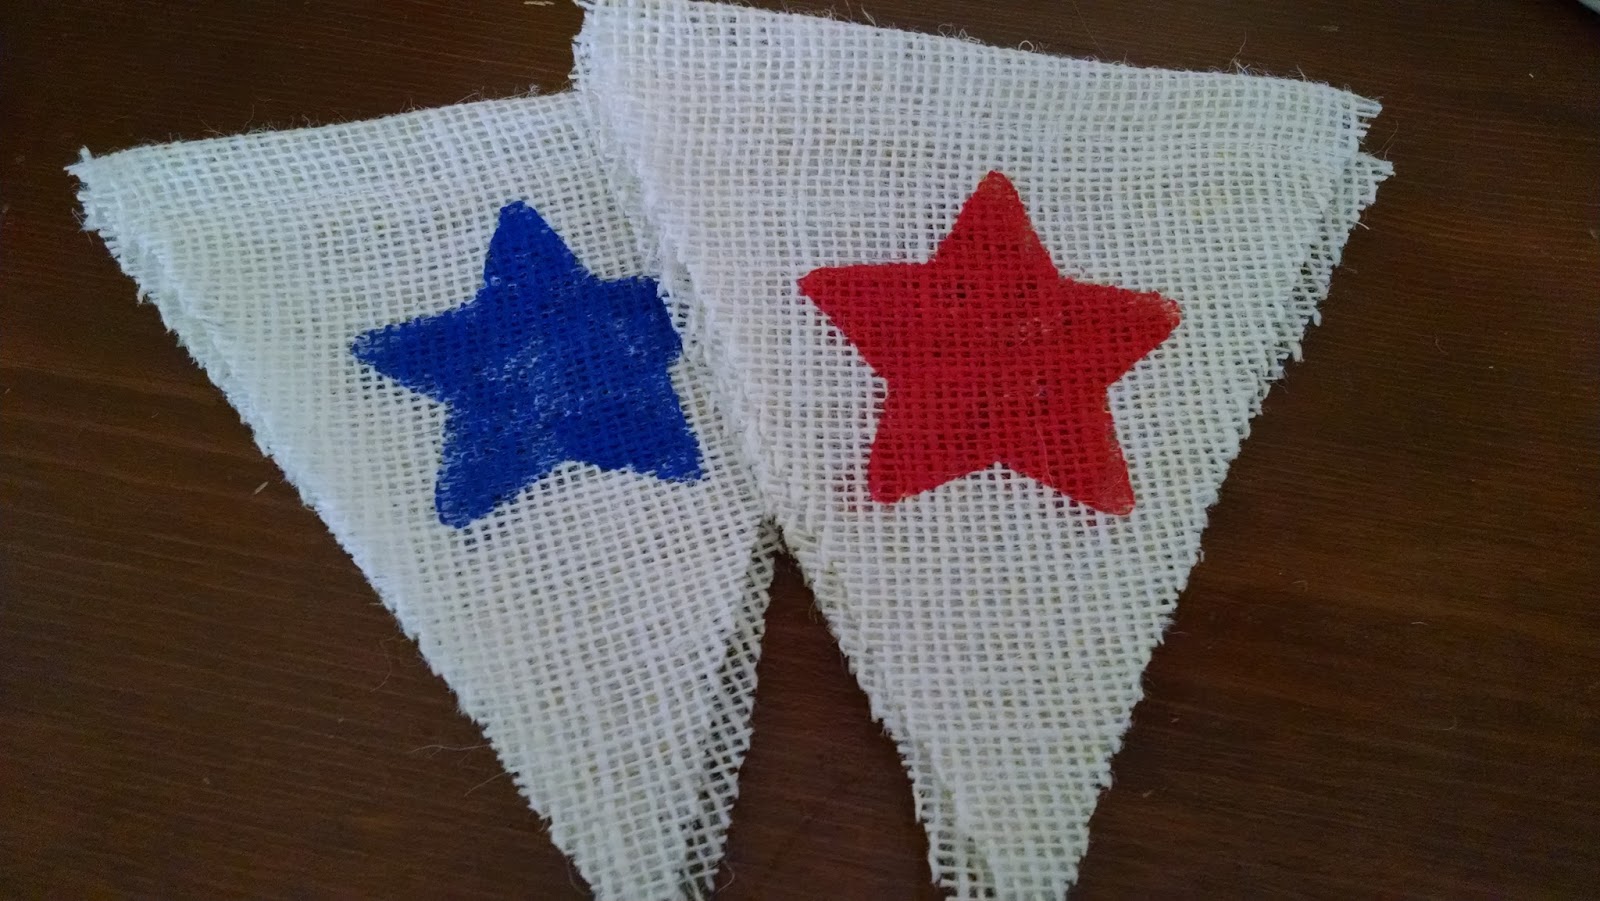
and you probably remember the red and blue stars and wondered, where is that bunting?  Well here it is! 


I also added the blue-striped ribbon between the flags and took off one of the flags (seven instead of eight), but really it depends on how far you are hoping to go with your bunting!


 Go HERE to see how to make this awesome bunting!!


 Happy Holidays!!!

Saturday, June 6, 2015

Summer Decorations: Bunting!

So our current home has a fireplace... but it's Arizona, so I don't really think we'll use it much... somehow...  but with it comes a mantle, which has been lots of fun to decorate!  I decided I wanted to make a summer bunting with burlap to hang across this summer.

First, I bought a half-yard of burlap at Walmart:


Second, I drew up my pattern.  I made a triangle then cut the ends off the top so I could fold it over the string with out fabric poking out the side:


I then cut sixteen flags, eight for each of two buntings:


Then I drew my stencil.  First I found a star and flower I liked online, then I traced them onto poster board and cur out the insides to make my stencil.  I cut the whole flower, then the inside circle separate.

I set up a station to stencil my flags.  I did four blue stars, then four red stars, then all the yellow flowers, finally all of the brown flower centers.


I used basic, 50cent, acrylic paints and a paint bush made from a sponge clipped with a clothes pin, a surprisingly useful brush!


I tied some string between my kitchen chairs and clipped each flag up to dry.


Then, in a moment of weakness I went to bed and left my paints on the counter....


The next morning Mr. A helped me put them away.... but not after first trying to open the bottle of blue by himself.


I didn't take a picture of this step, but I used clear school glue and went around the edges of each flag to give it some stability and to minimize fraying.  It is burlap after all!


Next I folded down the top of each flag and sewed it down.  You could also use hot glue... I just wanted to make sure it wasn't going anywhere!


Yikes!  We're almost there!

Finally, I tied some jute/twine onto my trusty crochet hook and threaded the string through each flag.


Then I hung the bunting up to enjoy!


I love it!  So cheery!  Stay tuned for the patriotic version!