Showing posts with label summer. Show all posts

Thursday, August 23, 2018

Delicious Grilled Corn and Garlic Bread

All growing up we had a garden at the back of our big backyard that produced a wide range of fresh veggies, raspberries, and occasionally strawberries!  To this day nothing makes it feel like summer more than some fresh raspberries or fresh veggies!  One of my mom's favorite, and now mine and my kids' favorite, is fresh corn on the cob!  Yum!  Given my obsession with grilling food this summer, I give you, grilled corn on the cob... oh yeah, and garlic bread because that's another favorite of my kids!!!

Because:


This one is super simple!  In fact, nearly no work for me.  Goes like this;

One - Assign Mr. C and Mr. A to shuck the corn... Who am I kidding, mention in passing it needs done and *poof* it magically happens!  They love to shuck corn!!!

Two - wrap corn cobs in foil, but only if you don't like char on your corn.  I do so, skip to three

Three - toss corn on a medium to high heat grill.  In Arizona, high heat means 700 degrees... no really, my thermometer clocked 700 degrees F last week!!! oops!  I had all four burners on high for maybe 10 minutes!


Four - Occasionally turn the corn so it cooks on all sides, once it's cooked through, take it off the burner with tongs.  Enjoy!


Now, corn is like chicken, most people over cook it!  Please! Please! don't over cook it!  Corn is done as soon as it changes color.  Most corn will have a milk tint to it when raw.  It is done with the color has more clarity, is more defined.  Over cooked corn is chewy and gross.

Garlic Bread

This is crazy simple too!

One - Butter and sprinkle garlic powder on sliced french bread.  Re-stack it as you go.

Two - Wrap entire loaf in foil.  I double wrapped so it didn't fall out!

Three - Toss on a medium to high grill, turn occasionally so all sides get cooked.

Four - Take it off and enjoy!!!


The time it takes will depend on how toasted you like your bread.  If you like the butter just melted and the bread soft, it won't take more than 10 minutes.  If you like a good crust, it may take longer.  If you like it crusty, you may even want to open the foil on the grill so you get more dry heat to the bread.


Enjoy!!!

And Remember:


Monday, June 15, 2015

Patriotic Bunting!

You probably remember the Summer Bunting I made recently


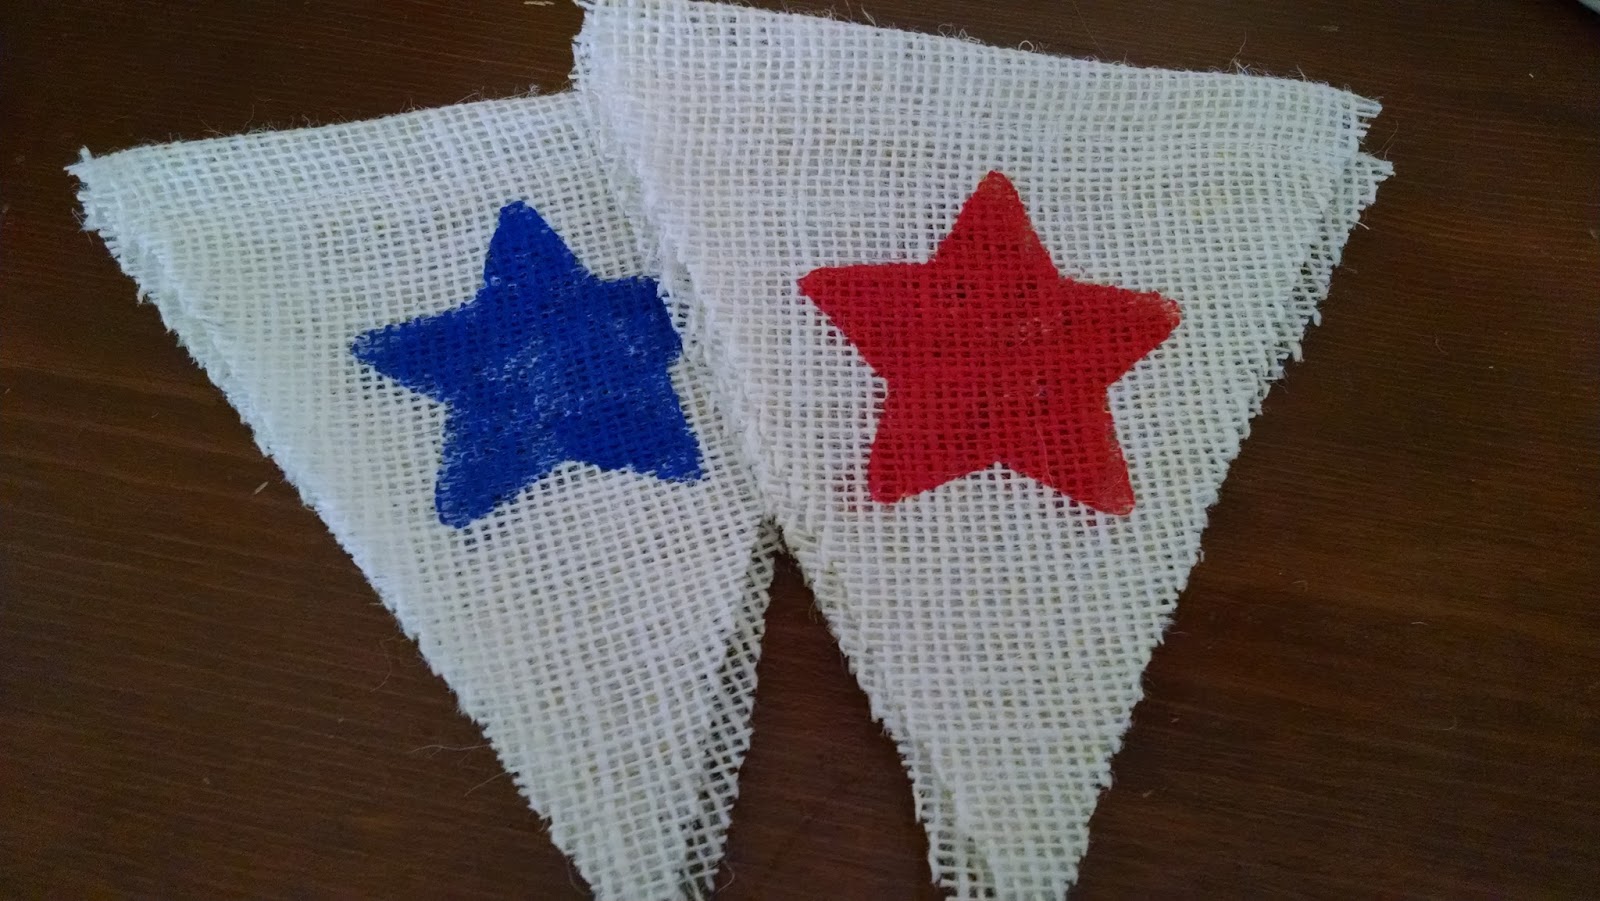
and you probably remember the red and blue stars and wondered, where is that bunting?  Well here it is! 


I also added the blue-striped ribbon between the flags and took off one of the flags (seven instead of eight), but really it depends on how far you are hoping to go with your bunting!


 Go HERE to see how to make this awesome bunting!!


 Happy Holidays!!!

Saturday, June 6, 2015

Summer Decorations: Bunting!

So our current home has a fireplace... but it's Arizona, so I don't really think we'll use it much... somehow...  but with it comes a mantle, which has been lots of fun to decorate!  I decided I wanted to make a summer bunting with burlap to hang across this summer.

First, I bought a half-yard of burlap at Walmart:


Second, I drew up my pattern.  I made a triangle then cut the ends off the top so I could fold it over the string with out fabric poking out the side:


I then cut sixteen flags, eight for each of two buntings:


Then I drew my stencil.  First I found a star and flower I liked online, then I traced them onto poster board and cur out the insides to make my stencil.  I cut the whole flower, then the inside circle separate.

I set up a station to stencil my flags.  I did four blue stars, then four red stars, then all the yellow flowers, finally all of the brown flower centers.


I used basic, 50cent, acrylic paints and a paint bush made from a sponge clipped with a clothes pin, a surprisingly useful brush!


I tied some string between my kitchen chairs and clipped each flag up to dry.


Then, in a moment of weakness I went to bed and left my paints on the counter....


The next morning Mr. A helped me put them away.... but not after first trying to open the bottle of blue by himself.


I didn't take a picture of this step, but I used clear school glue and went around the edges of each flag to give it some stability and to minimize fraying.  It is burlap after all!


Next I folded down the top of each flag and sewed it down.  You could also use hot glue... I just wanted to make sure it wasn't going anywhere!


Yikes!  We're almost there!

Finally, I tied some jute/twine onto my trusty crochet hook and threaded the string through each flag.


Then I hung the bunting up to enjoy!


I love it!  So cheery!  Stay tuned for the patriotic version!