Showing posts with label yellow. Show all posts

Monday, September 14, 2015

Part 2: Grandma's Washstand!

Last time I took off all of the hardware off the washstand and gave it a good wipe-down.  Today, we are cleaning the hardware! 

Now my pictures only encompass the door knobs, but I did the same thing for all the pieces.

The started looking like this....
  
Yuck.  YEARS of grime, tarnish, oils from hands, etc. had made their mark on the hardware.

First I soaked them in a vinegar water.  There's probably a 'safe' proportion, but I just guessed.... warm water and vinegar.  Then I started scrubbing a bit with a toothbrush.  

Better....

 I realized I needed something a little bit abrasive to really do the trick, so I took everything out of the vinegar, and while still wet I sprinkled them with table salt.  Then I scrubbed some more, periodically wetting my brush in the water or adding more salt.

 Much better!
(you can see one of the drawer handles in the background, covered in salt)

Now some of them still look, meh, because the finish was just plain worn off... still not sure what I'm going to do there.  I'm torn between restoring and a complete makeover.  Lucky for me, I don't have to decide yet! 

I have two color schemes that I like right now.  One is to paint the whole thing a bright white, and replace the hardware as is.  I don't know what the wood looks like yet, or how it was originally, but that is how I always knew it to be at Grandma's house.

The second is to paint it all a bright white but to paint the recessed areas a bright white-mixed with a titch of yellow.  Hardware either original, painted to look new, or painted a whatever color matches best.  Thoughts?  Ideas?  Opinions?

Tuesday, July 21, 2015

Swimsuit Alteration

It was time for a new swimsuit this year... the last time I bought myself a suit was... 4... years ago.  When we got married... So it was starting to stretch in funny ways and was just not working anymore! 

Swimsuit shopping: yuck!  I'm fairly confident in my body, but hey, I want to wear more than three triangles of fabric!  For the last several years I have gone tankini, but this time I decided on this awesome suit:


It's fully lined!  What?! (seriously, why don't people line EVERY suit??)  Bonus: it was 50% off!  Sweet!  My only problem was that the v-neck was pretty deep on me...  So, time to make some adjustments!

First I put it on and figured out where I wanted the neckline to be.


Next, I cut a rectangle of black, swimsuit material, big enough to span the gap with room to spare.


Next, I turned one edge under a half inch and used my snazzy double needle to hem it.
Tip: ALWAYS sew on the TOP with a double needle, the bottom will be a zig-zag.
(because one bobbin serves two needles, the bobbin thread zig-zags between the two sides)


In an effort to keep this fabric from sagging (thus defeating the purpose) I threaded a quarter-inch elastic through the hem and pulled it just a little bit taunt.


Next, I pinned the black piece to the suit and top-stitched down the existing stitching to hide the seam and attach the added piece.


View from the inside... not perfect, but it worked!  Once it was attached I trimmed away the extra fabric and tried it on!


All done and ready for a trip to the pool!


Wednesday, July 8, 2015

Two New Shirts - Color Blocking!

So I had these two shirts... I never loved the fit or the blah-ness of them, so I decided it was time to change things up a bit!


First!  I cut both shirts at the exact same place (they were identical shirts, different colors), a half inch below the sleeve seem

Then, just switcheroo the tops!


Add a strip of stretchy lace and pin the pieces back together!


A quick zig-zag to sew them together.


Then I top-stitched the lace down at the side seams.


Volia!  Two brand-new color-blocked shirts that I love!

(Finished product pics to come... oops!)


Saturday, June 6, 2015

Summer Decorations: Bunting!

So our current home has a fireplace... but it's Arizona, so I don't really think we'll use it much... somehow...  but with it comes a mantle, which has been lots of fun to decorate!  I decided I wanted to make a summer bunting with burlap to hang across this summer.

First, I bought a half-yard of burlap at Walmart:


Second, I drew up my pattern.  I made a triangle then cut the ends off the top so I could fold it over the string with out fabric poking out the side:


I then cut sixteen flags, eight for each of two buntings:


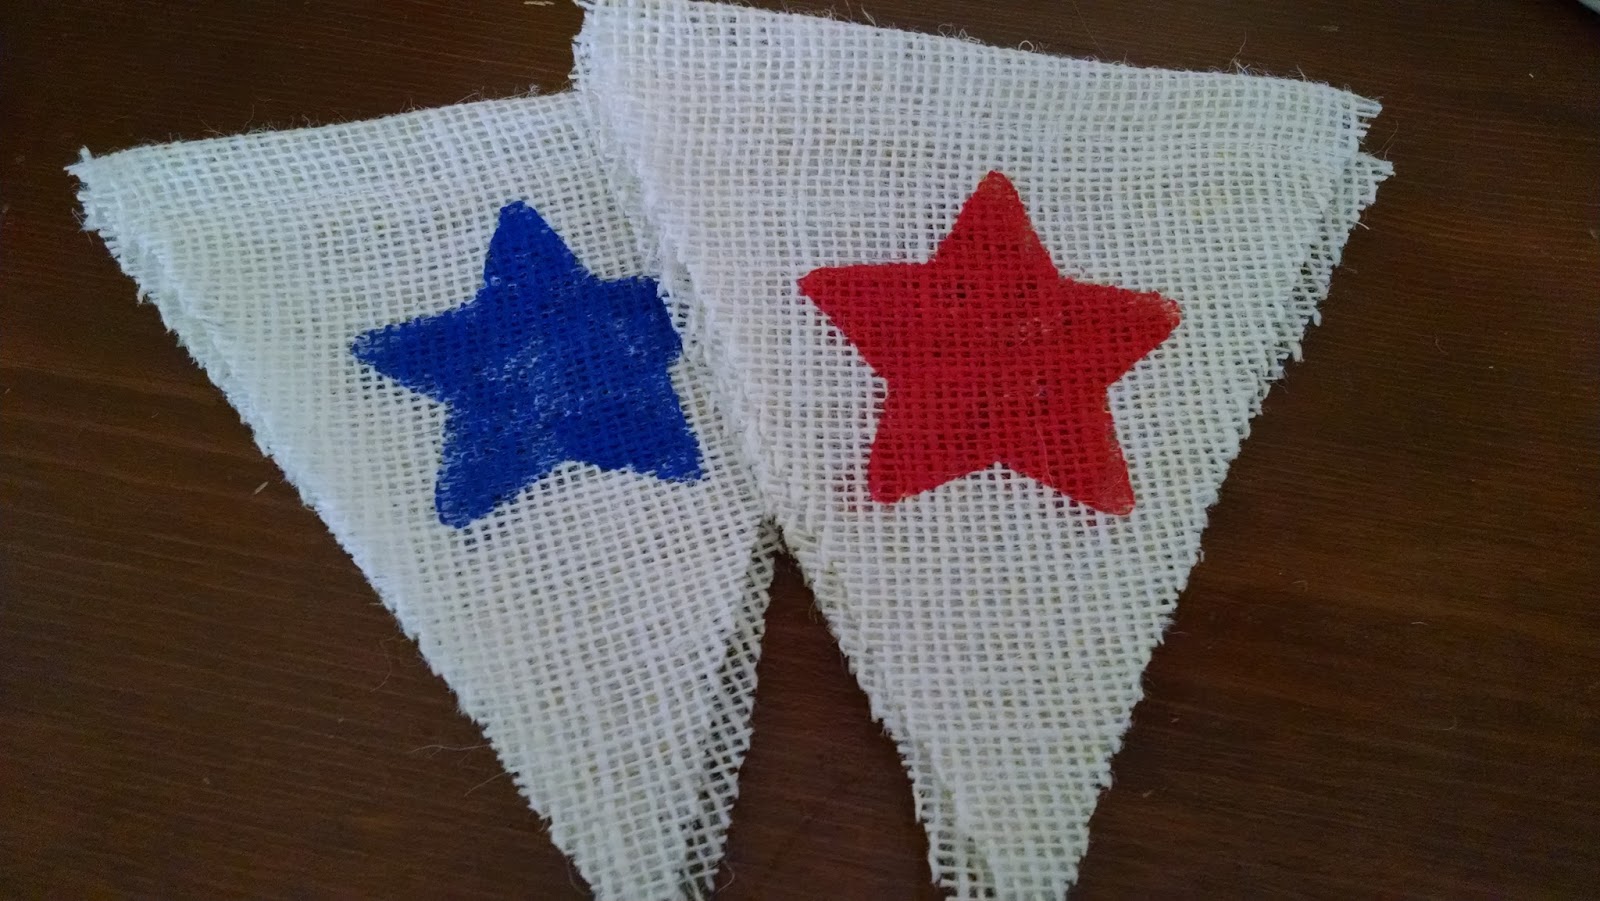
Then I drew my stencil.  First I found a star and flower I liked online, then I traced them onto poster board and cur out the insides to make my stencil.  I cut the whole flower, then the inside circle separate.

I set up a station to stencil my flags.  I did four blue stars, then four red stars, then all the yellow flowers, finally all of the brown flower centers.


I used basic, 50cent, acrylic paints and a paint bush made from a sponge clipped with a clothes pin, a surprisingly useful brush!


I tied some string between my kitchen chairs and clipped each flag up to dry.


Then, in a moment of weakness I went to bed and left my paints on the counter....


The next morning Mr. A helped me put them away.... but not after first trying to open the bottle of blue by himself.


I didn't take a picture of this step, but I used clear school glue and went around the edges of each flag to give it some stability and to minimize fraying.  It is burlap after all!


Next I folded down the top of each flag and sewed it down.  You could also use hot glue... I just wanted to make sure it wasn't going anywhere!


Yikes!  We're almost there!

Finally, I tied some jute/twine onto my trusty crochet hook and threaded the string through each flag.


Then I hung the bunting up to enjoy!


I love it!  So cheery!  Stay tuned for the patriotic version!