

First things first, print the following image twice. I printed it on our black and white printer which is why the letters are black and the star blue. That way I could see all the parts for the following steps.

Then, on one image, use an exacto knife to cut out the letters, and on the other, the star.

I then taped my shirts to the counter, with a plastic grocery sack between the top layer and other layers to protect the shirt.


I then used a glue stick to stick the letter part of the image on top of the star, using the star on the template to line it up.

Then paint on the words in another color. I did a blue star and white letters because the shirt is red.
Peel off the template before the glue gets too dry. It will come off in the wash, but it's easier to do now.

Let the shirt dry at LEAST overnight! If you wash/dry it too soon, it will do funny things, like stick to things or wash off.
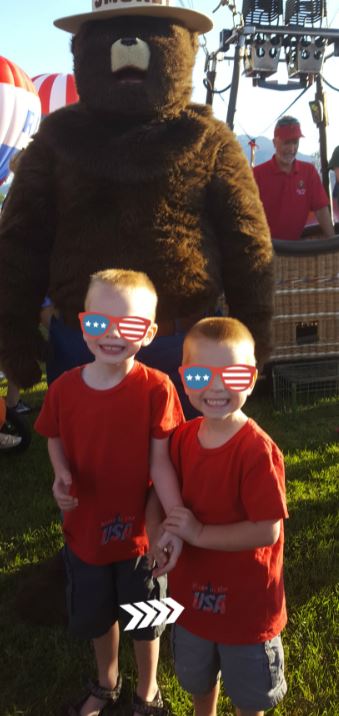
Update: Mr. A and Mr. C have been wearing these for two years now, and they still look great! I wash and dry them as usual, no problem!
No comments:
Post a Comment