

As you'll recall if you've followed these posts, my Great-Grandmother passed last March and last July we went out again to visit family and I was offered the opportunity to fix the old washstand that had been in her bathroom as long as I, and incidentally my Grandma can remember as well!

I was recently talking with my Grandma and she told me that this washstand use to stand by the back door so you could stop and wash your hands on the way in from the bathroom (outhouse). Then when they got an indoor bathroom it sat in there as extra counter space for years and years. I was honored to have the chance to fix it up!

I think that it started out a stained wood finish, but over the years it had been painted at least four different times. Rose, cream, and several layers of white! at some point the wood top and backsplash was covered with formica after the wood warped and split a bit from all the water.

All those years of water damages and thick layers of paint had made it look old and worn out. So I got to it!

First I took it apart! Oh the nails! This piece is very old and they used ridiculously long nails to attach the hinges... like 3-4 inch nails!

Then I cleaned all the hardware with some salt and vinegar and a toothbrush

And got to work stripping the layers and layers of paint!


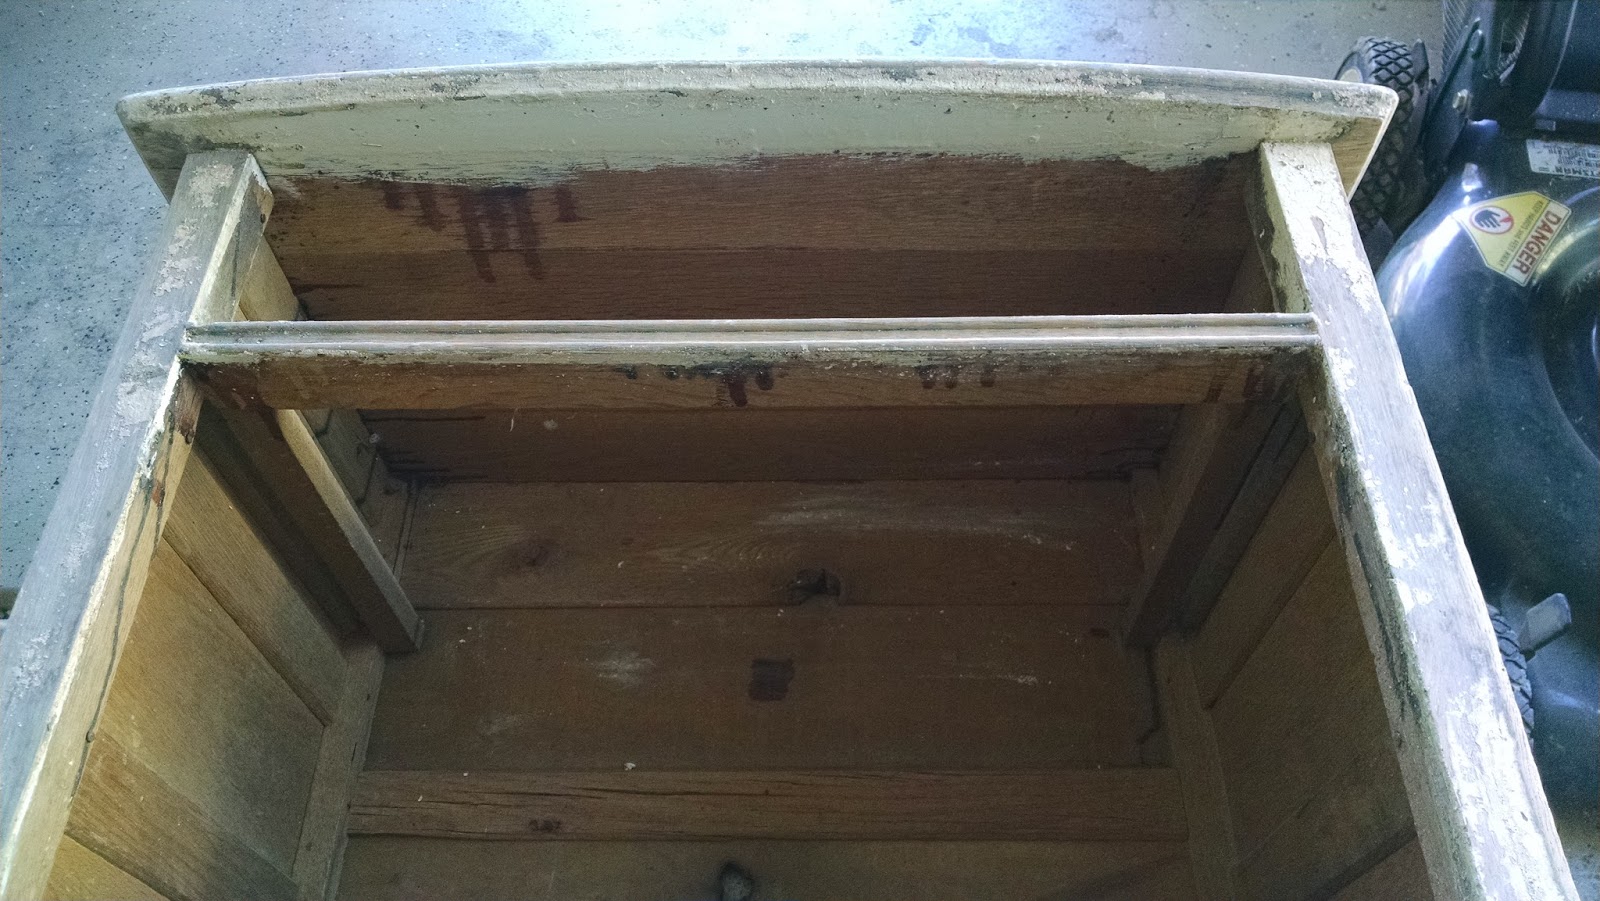

Then it all needed sanded!

And that was a job! However, once I got the paint layers sanded down, I found beautiful wood and even managed to sand away most of the water damage!

Then came the agonizing task of choosing a stain! I didn't get all of the black water damage removed so I opted for a dark stain, Espresso. YIKES! That's a scary color to apply! I had this beautiful, oak wood and that stain is black in the can!

But it came out beautiful!

Lastly, to protect the wood from the sun and kiddos, among other things, I finished with a couple coat of polyurethane (triple on the top).

Then I put everything back together! Some of the nails were inevitably bent during deconstruction, but most of the nails are original, I only replaced a few!

When I got the cabinet it only had one knob for two doors. Somewhere along the way the other one was lost. I looked and looked but couldn't find a match.

So I found a close match and replaced both of them, saving the original for if I ever find a match!
(I almost found a match yesterday at an antique shop! But still not quite)

And it's done!

It currently sits as an entry table next to our front door. However, we practically never use our front door so it has managed to stay clean and clear of junk!

I found this perfect little plate at my favorite thrift store for a coin/key plate.

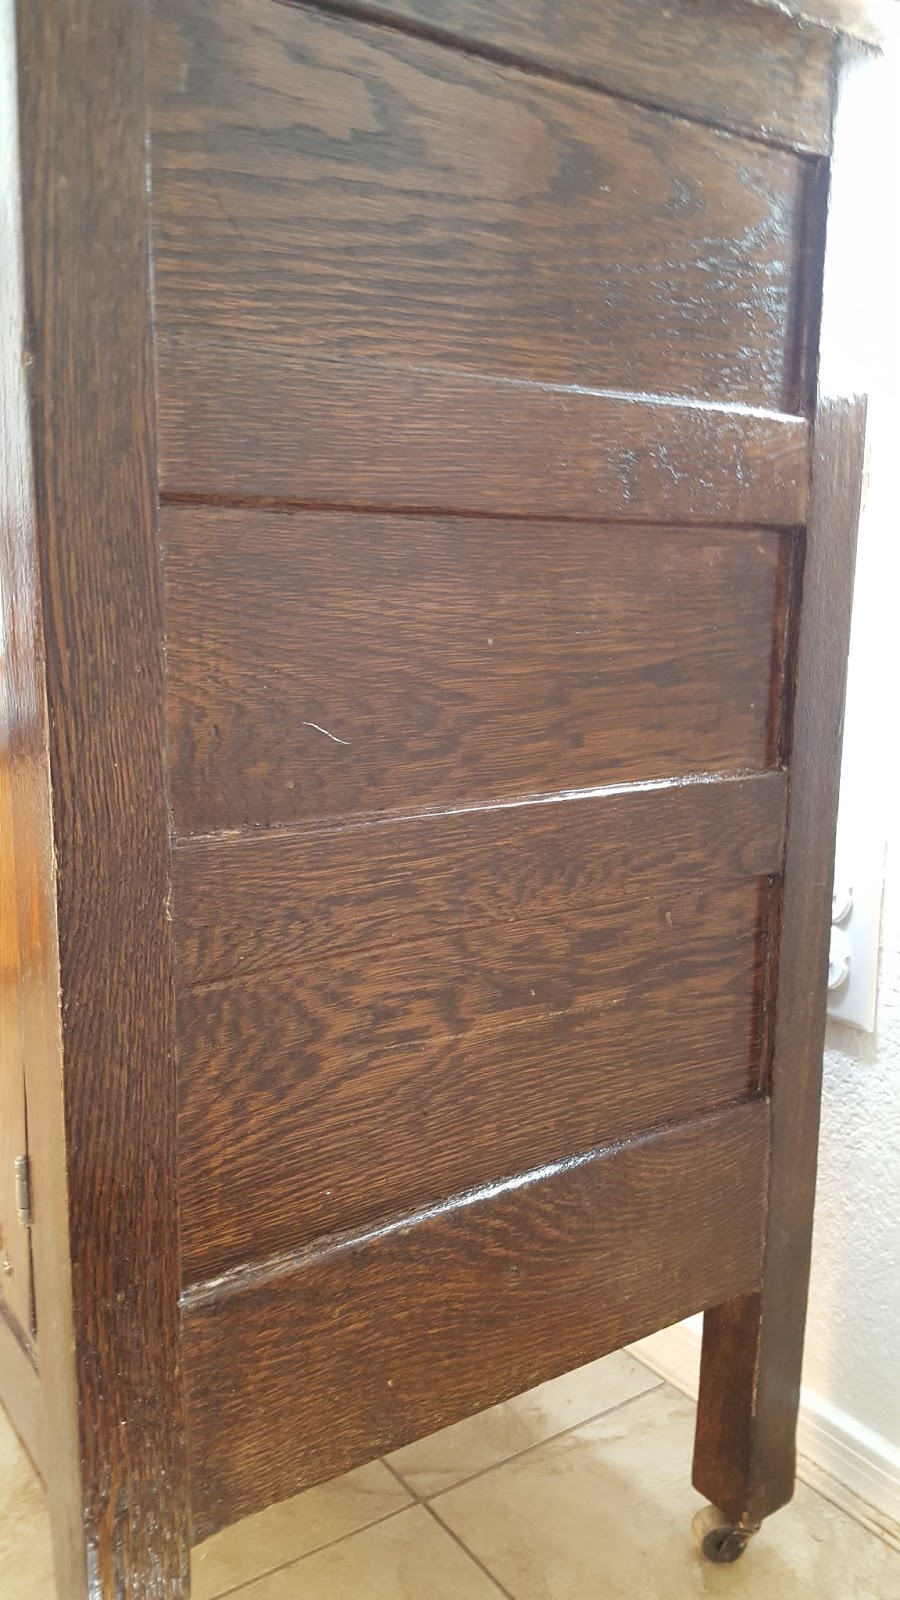
I just love how rich the wood ended up looking! It's really hard to take good pictures of it though, any light reflects off the smooth surface!


I put our blanket stash inside. I figured if I filled it with something now, it won't collect junk! Previously our blankets were in a diaper box sort of hidden between our couch and comfy char.... I like this much better! Besides which, being summer is here, we won't be using blankets as much now anyway!


Nothing is in the drawer right now except the original door knob and a few nails too bent to use on the hinges. crossing my fingers it stays that way!


Isn't the wood just amazing!

Just in case you've forgotten how far we've come!
Grandma's Washstand Part 1 - Disassembling
Grandma's Washstand Part 2 - Cleaning hardwareGrandma's Washstand Part 3 - Stripping paint
Grandma's Washstand Part 4 - Sanding
What projects have you done? Comment below!
No comments:
Post a Comment